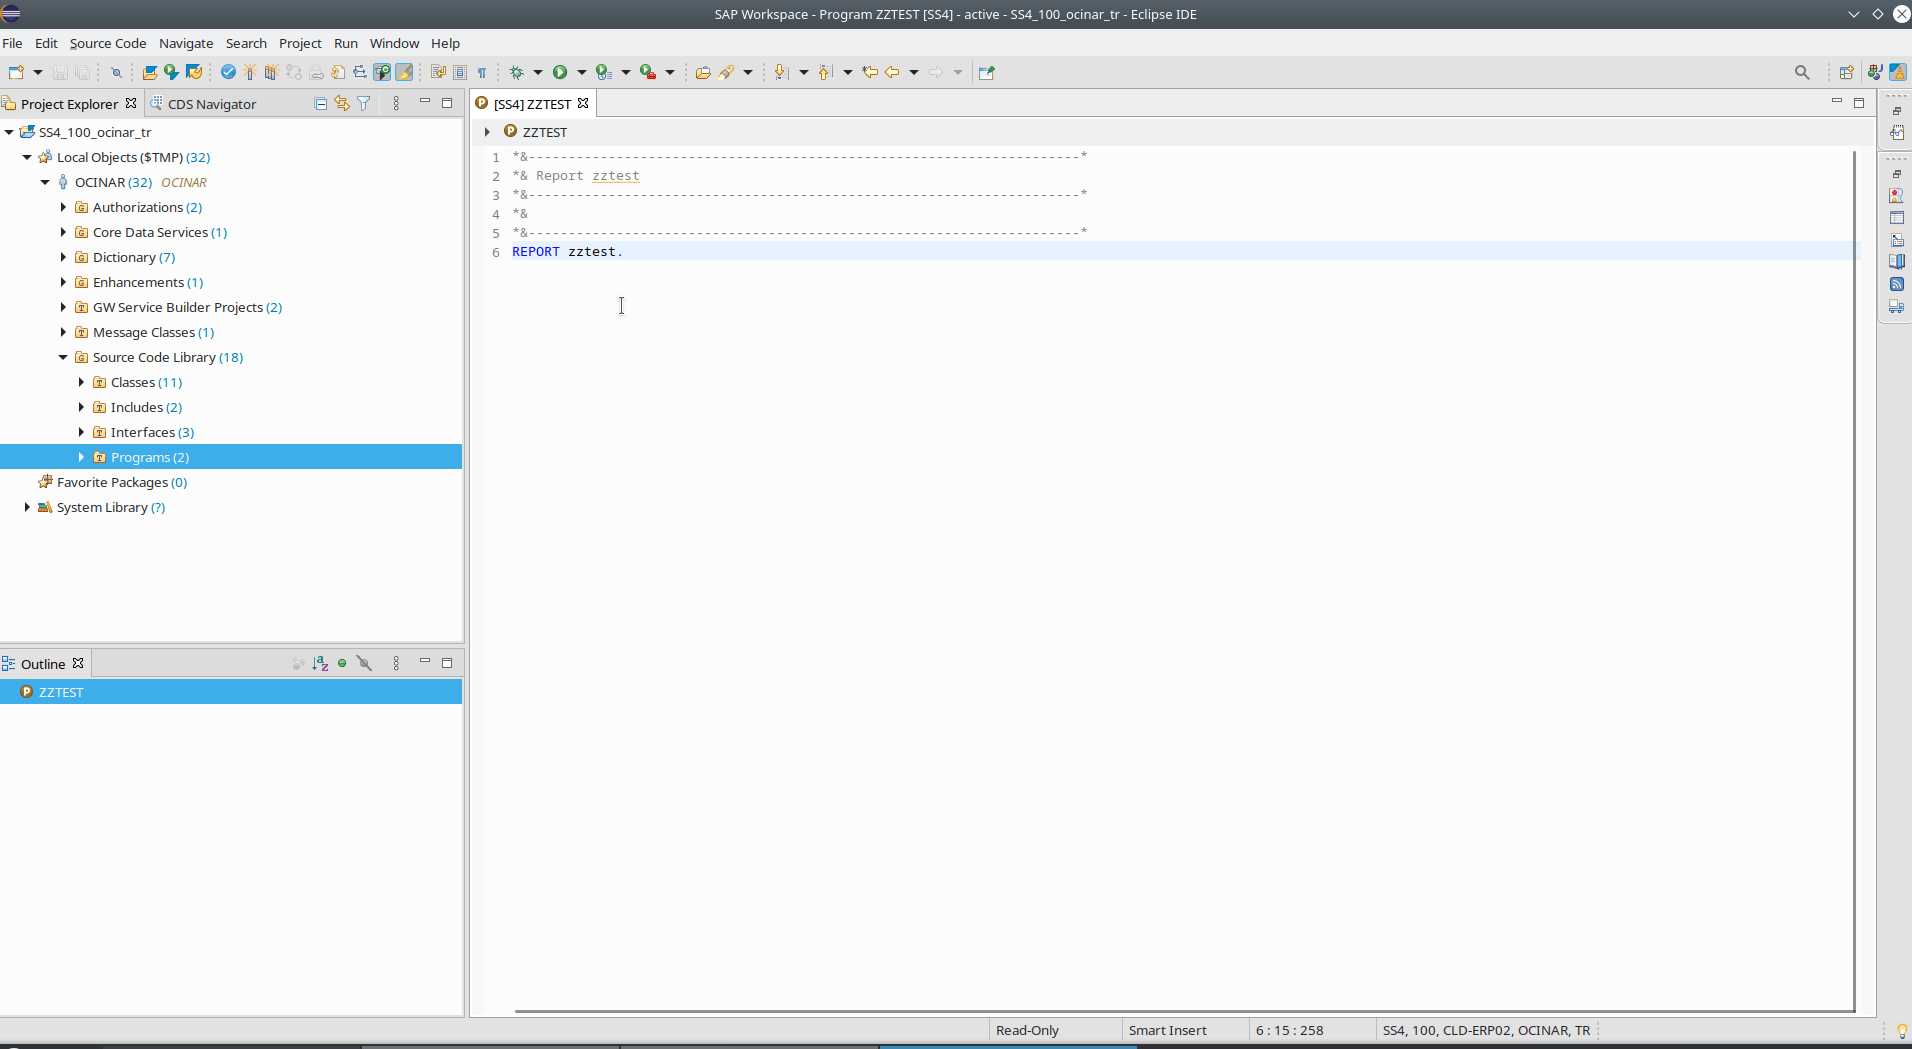
Step by Step Guide Installation SAP GUI & Eclipse on Ubuntu
Main SAP development platform is Windows but we can also develop ABAP programs on Linux and Mac. It has less functionality but at least it is usable. I will explain how to install SAP development environment on Linux Ubuntu.
In this article Kubuntu 20.04 distro is used. You may visit official web site of Kubuntu to install: https://kubuntu.org/
Pre requirements:
JAVA JRE
JavaFx
SAPMachine
Eclipse
SAP JAVA GUI
Install Java
sudo apt install default-jre
Verify installation
java -version
#Output:
openjdk version "11.0.7" 2020-04-14
OpenJDK Runtime Environment (build 11.0.7+10-post-Ubuntu-3ubuntu1)
OpenJDK 64-Bit Server VM (build 11.0.7+10-post-Ubuntu-3ubuntu1, mixed mode)
Install JavaFX
SAP Java GUI needs JavaFX. JavaFX is not included in JAVA SDK anymore. We need to install it externally.
Go to https://openjfx.io/ to download installation file.
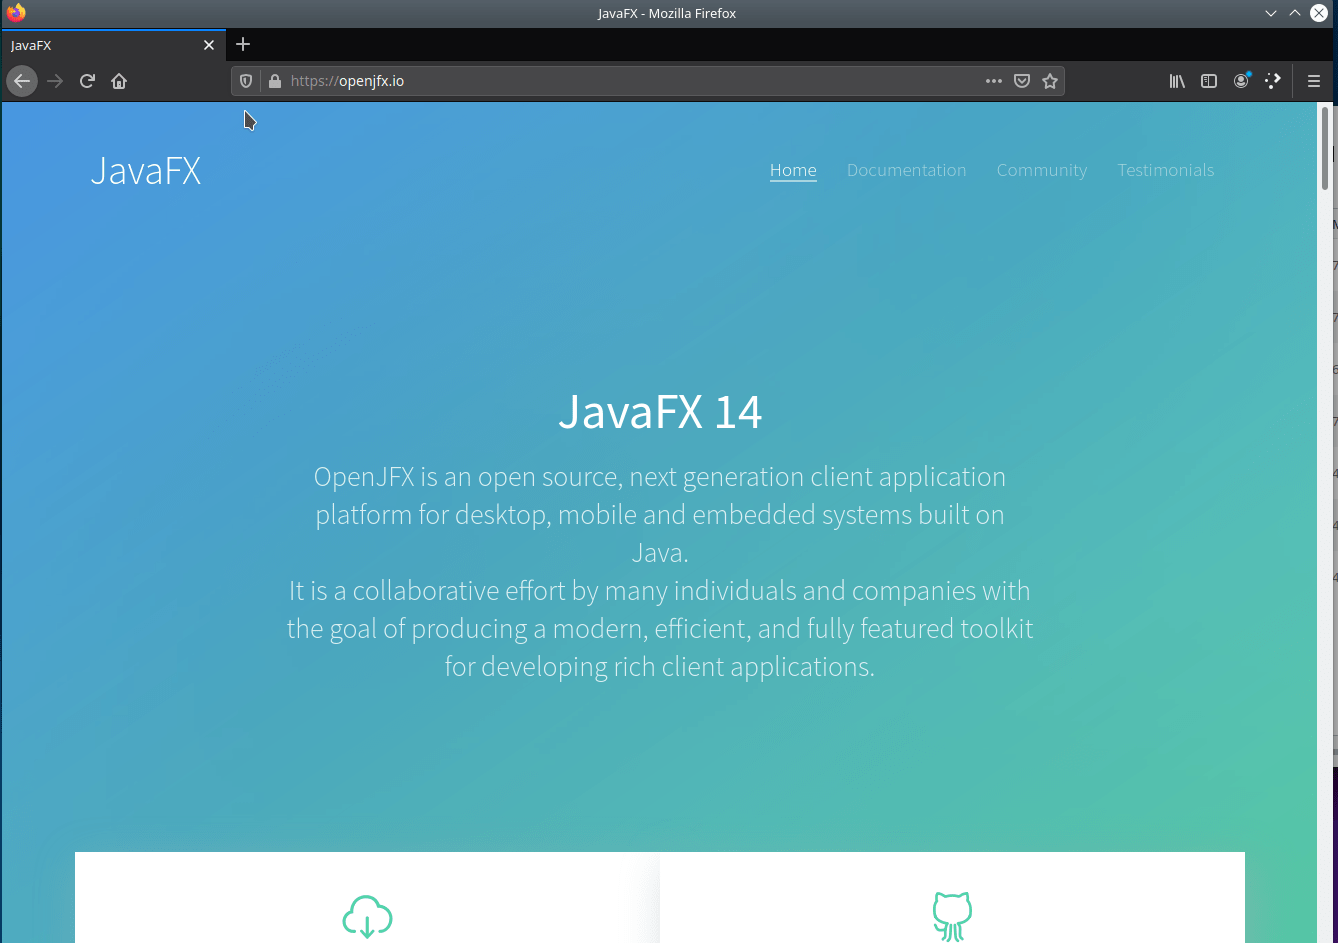
Install compatible version with your Java version. My Java version is 11 so I will download JavaFx which is compatible with Java 11

After downloading extract file to home dictionary
Install SAPMachine
SapMachine is a JDK that is recommended to use for SAP products by SAP.
You can install it from https://sap.github.io/SapMachine/

Extract it to JVM folder with following command
sudo tar -xf sapmachine-jdk-11.0.8_linux-x64_bin.tar.gz -C /usr/lib/jvm/
Set Java environment as described in SapMachine documentation.
export JAVA_HOME=/usr/lib/jvm/sapmachine-jdk-11.0.8
#check is it done
echo $JAVA_HOME
#output:
#/usr/lib/jvm/sapmachine-jdk-11.0.8
#set path variable
export PATH=$PATH:$JAVA_HOME/bin
#check is it done
echo $PATH
#output:
#/usr/local/sbin:/usr/local/bin:/usr/sbin:/usr/bin:/sbin:/bin:/usr/games:/usr/local/games:/snap/bin:/usr/lib/jvm/
If they are all done you are ready to install SAP GUI.
Now you are ready to install SAP GUI
Install SAP Java GUI
You can download SAP JAVA GUI installer from SAP Launchpad.
Note: You need to have authorization to download. You may ask your company to have authenticated account
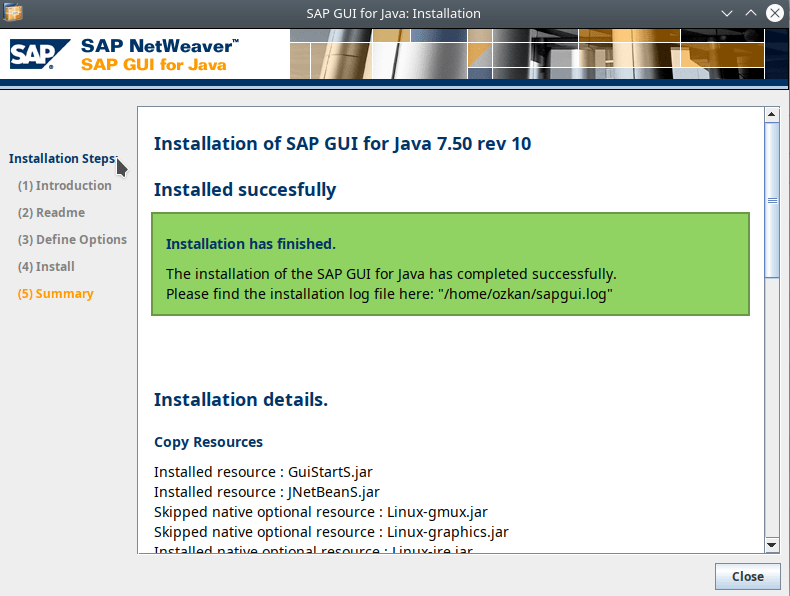
After downloading double click jar file and installation wizard will start. After a few next you will see a screen like following screenshot.
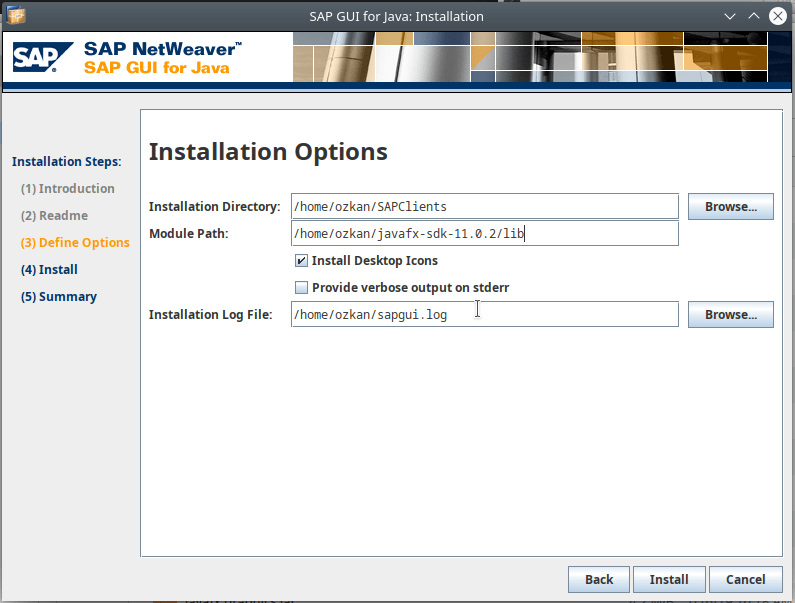
In Module Path field, you need to give directory that you already extracted JavaFX files.
Hit the install and it will finalize installation.
Open installed application. If you do not know where is it, you can search by typing ‘SAP’ after hitting start button.

Press add connection and add a new connection. Go to Advanced tab add create connection string. String is like following format:
conn=/H/yourhost.yourdomain.com/S/32<instance_num>
Check for detailed explanation of connection strings:
https://www.int13h.nl:8443/_content/SAPDocuments/JavaGUI_Manual/manual.html
https://blogs.sap.com/2017/08/01/sap-gui-for-java-connection-strings/
Setting Up Eclipse ADT (ABAP Development Tools)
You can install Eclipse on https://www.eclipse.org/. You can check which ADT version is compatible with which Eclipse on https://tools.hana.ondemand.com/. Also you will find detailed explanation of how to install ADT.
We need to make some configurations to use Eclipse ADT on Ubuntu.
If you do not do these 2 steps you may see an error like: Could not find: javafx.properties
Copy JavaFX files to SapMachine
go to directory which you extracted JavaFX files and copy them to SapMachine JVM folder.
cd /home/ozkan/javafx-sdk-11.0.2/lib
#copy all to sapmachine folder
sudo cp * /usr/lib/jvm/sapmachine-jdk-11.0.8/lib/
#go one step backward
cd ..
#go into legal folder and copy all to sapmachine folder
cd legal/
sudo cp -r * /usr/lib/jvm/sapmachine-jdk-11.0.8/legal/
Set Up Eclipse.ini File
Here is most important part. Changing Eclipse.ini file.
You can find eclipse.ini file in your Eclipse installation folder. Add 2 line above of -vmargs line. Give that your SapMachine directory. -vm part mostly is not exists in eclipse.ini. You need to add it above of -vmargs line.
-vm
/usr/lib/jvm/sapmachine-jdk-11.0.7/bin
You see a line like:
-vmargs
Give there your JavaFx installation folder
-vmargs
--module-path=/home/ozkan/javafx-sdk-11.0.2/lib
--add-modules=ALL-MODULE-PATH
Totally it will look like
#...something
-vm
/usr/lib/jvm/sapmachine-jdk-11.0.7/bin
-vmargs
--module-path=/home/ozkan/javafx-sdk-11.0.2/lib
--add-modules=ALL-MODULE-PATH
#...something
And Finally
Installation completed